A tour of Pixor
Four steps take a 3D model to animated pixel-art sprite sheets, then Export writes the files. These are pictures of the real app; click one to see it full size.
1. Scene
Open a model, then set up how it is seen. Every side your game needs is a camera, and they all share one pixel scale, so a whole game’s sprites match.
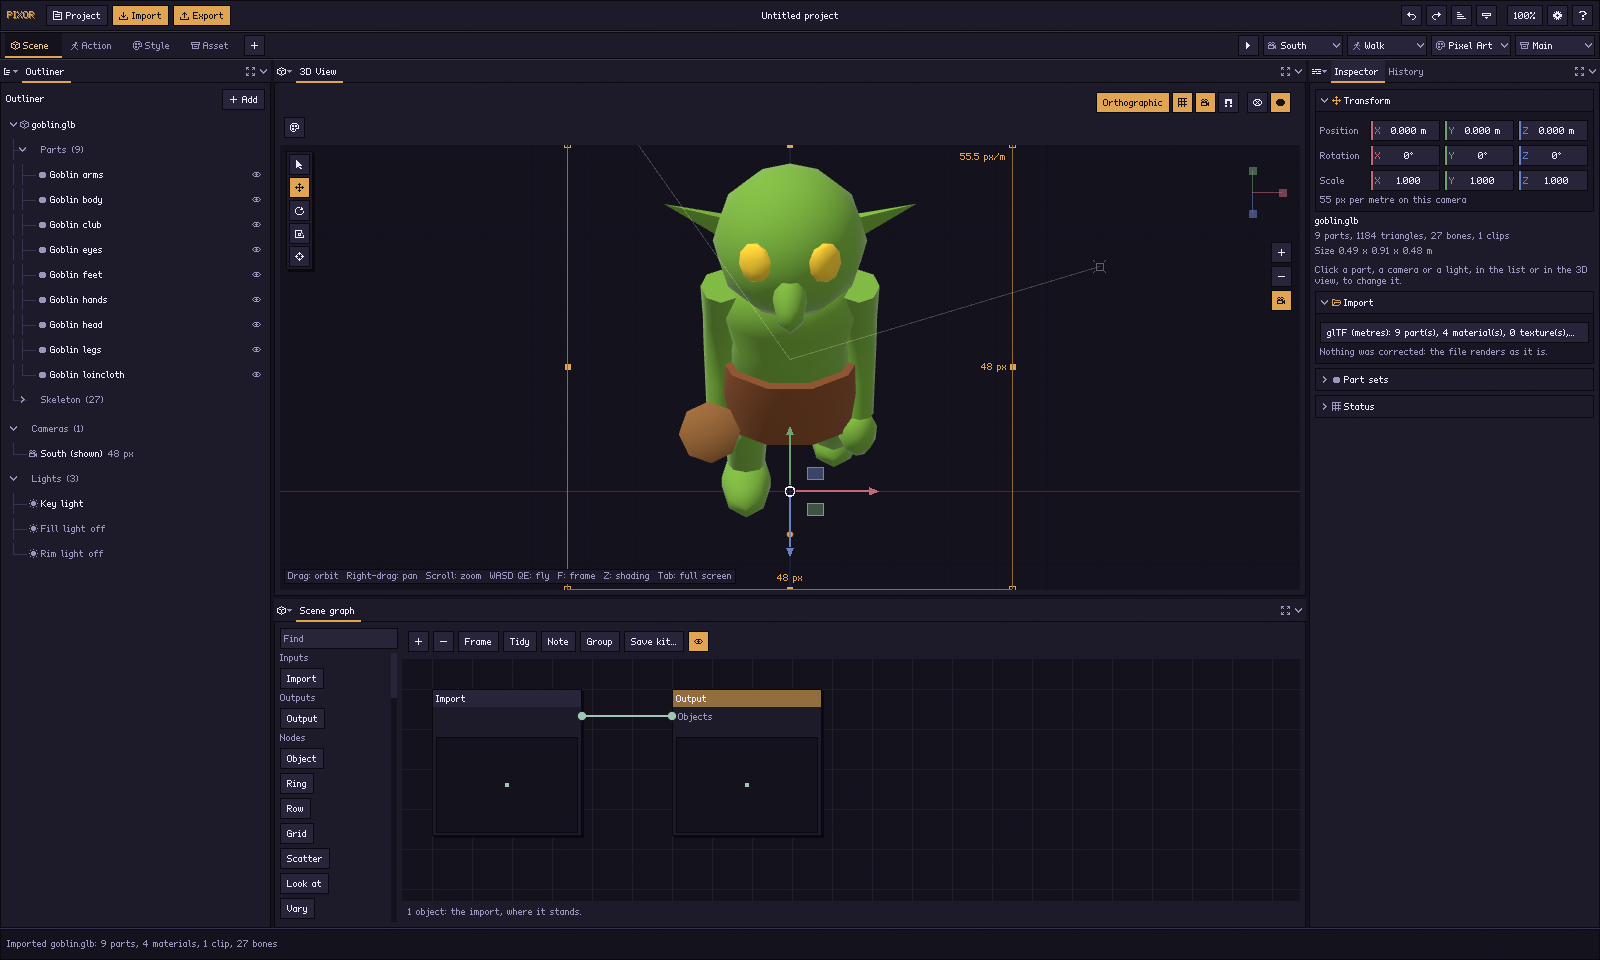
- Import glTF, FBX (Mixamo as it is), OBJ, MagicaVoxel .vox, pictures
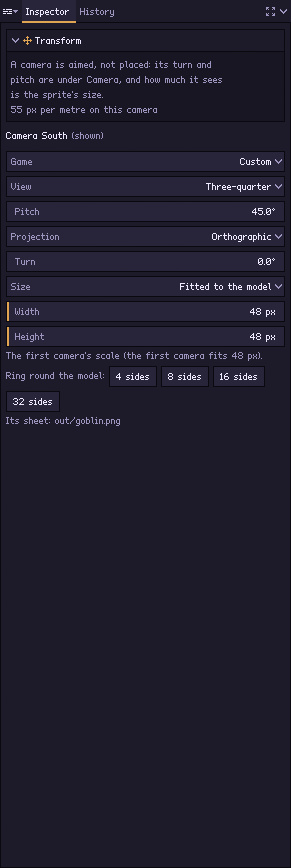
- Cameras: one per side, or a ring of 4, 8 or 16 round the model
- Views ready made: side, three-quarter, isometric, top-down
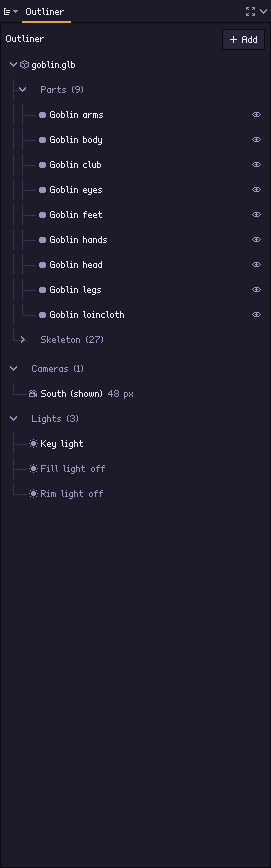
- Lights, pivot and pixels per metre, kept in the project
2. Action
Choose what moves: the model’s own animations, or motions Pixor adds (spin, bob, swing). The sheet gets a row for every action and side.
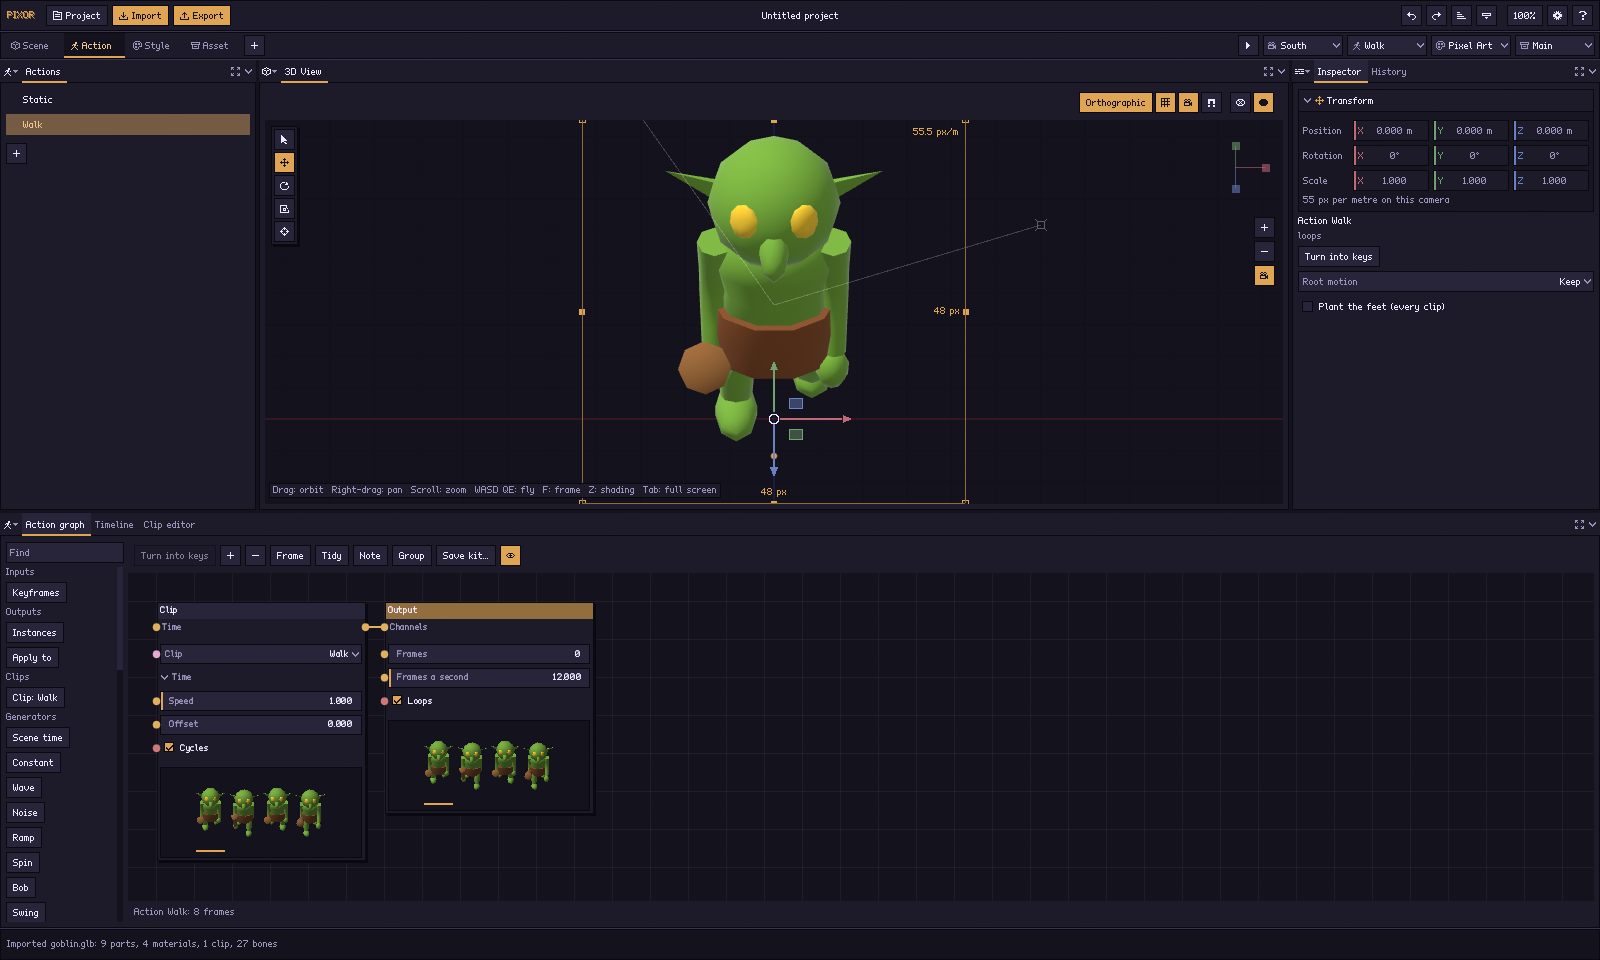
- Every clip of the model, played and trimmed on a timeline
- Motions for props: spin, bob, swing, pulse
- Root motion kept in place, its offset written for your engine
- Smart frames: the poses that matter, each held as long as it should be
3. Style
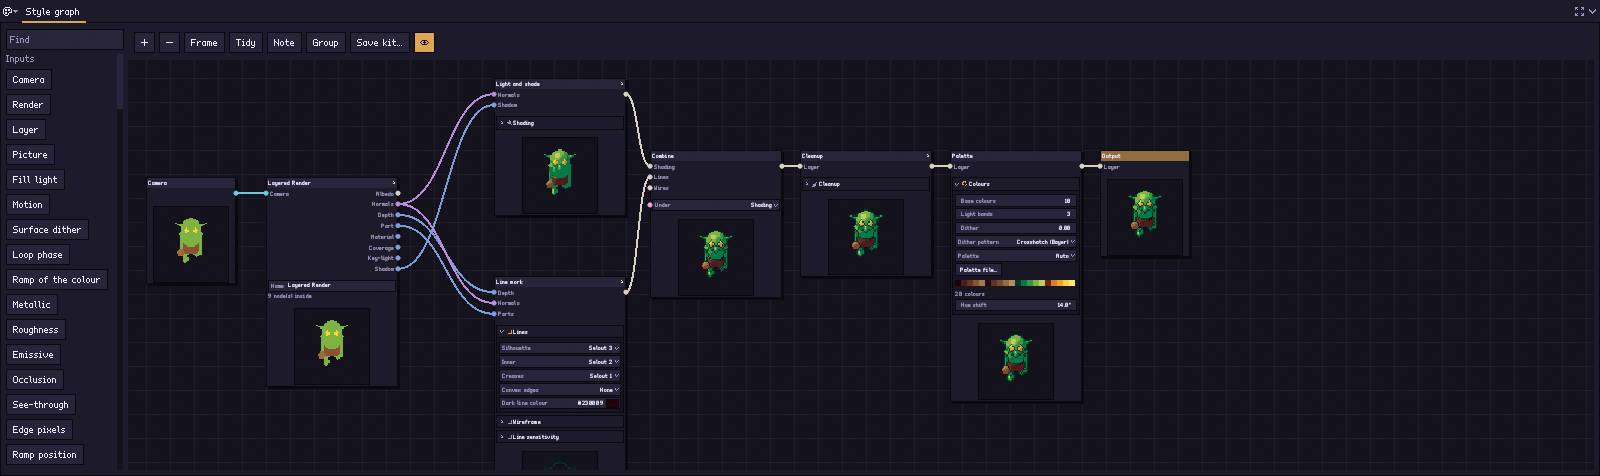
Choose the look. A look is a Style graph: light bands, outlines, palette and clean-up, each a node you can change. Start from a preset and save it as a kit for the next model.
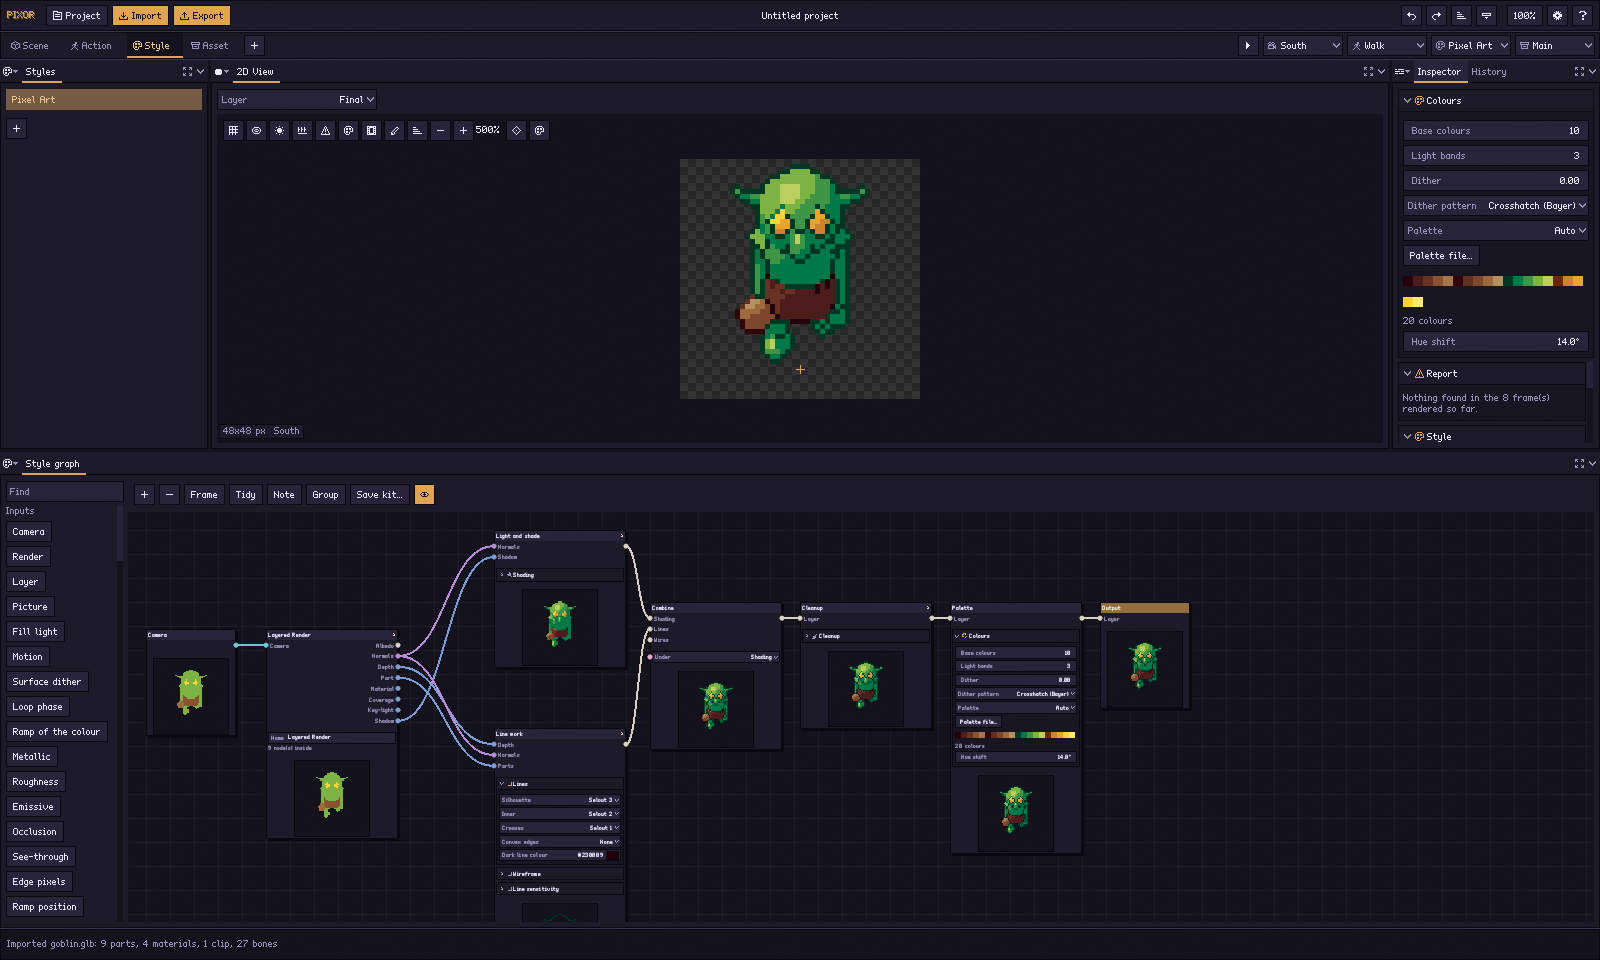
- Presets: selective outline, clean, retro, flat, wireframe
- Light bands and hue-shifted ramps, palettes (Lospec .hex, .gpl)
- Lines where a pixel artist would draw them
- What you see in the 2D View is exactly what is exported
4. Asset
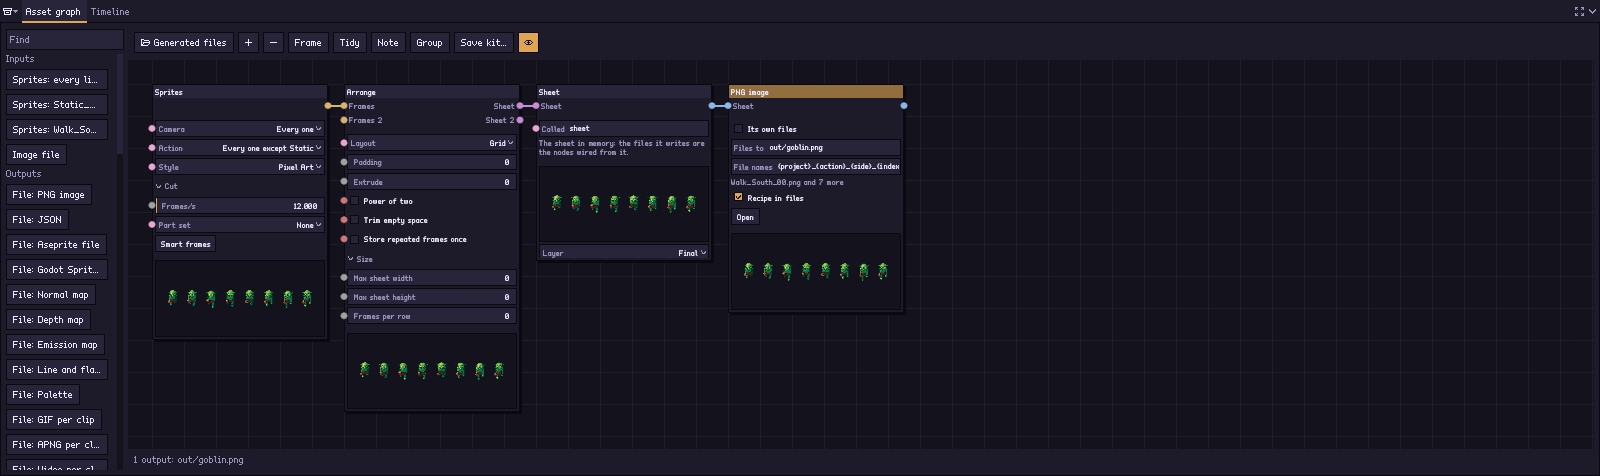
Choose what is written: the Asset graph turns the sprites into sheets and files. One PNG, or a sheet per action, JSON, Aseprite files, Godot SpriteFrames, GIFs…
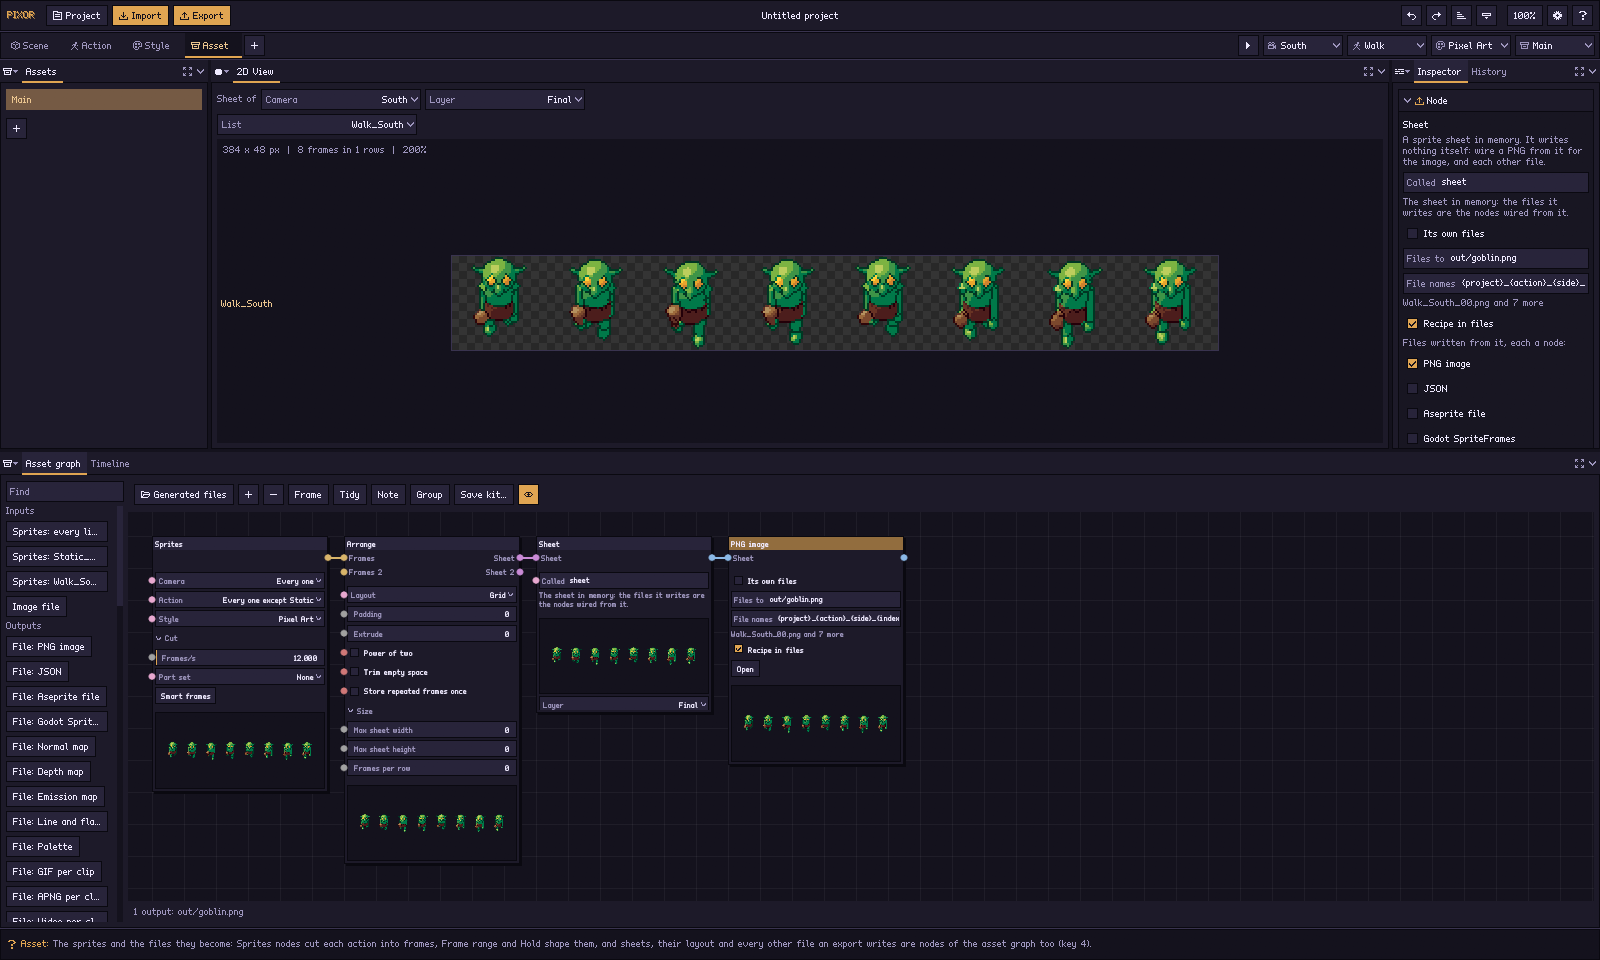
- Sheets laid out by grid or packed, one row per action and side
- JSON, Aseprite (tags and helper layers), Godot SpriteFrames
- GIF, APNG, video, normal and depth maps, palettes
- Every output a node: add, remove or rewire them
Then: Export
The Export window writes every file the Asset step makes into a folder you choose, exactly as the command line would, so a build script gives the same files.
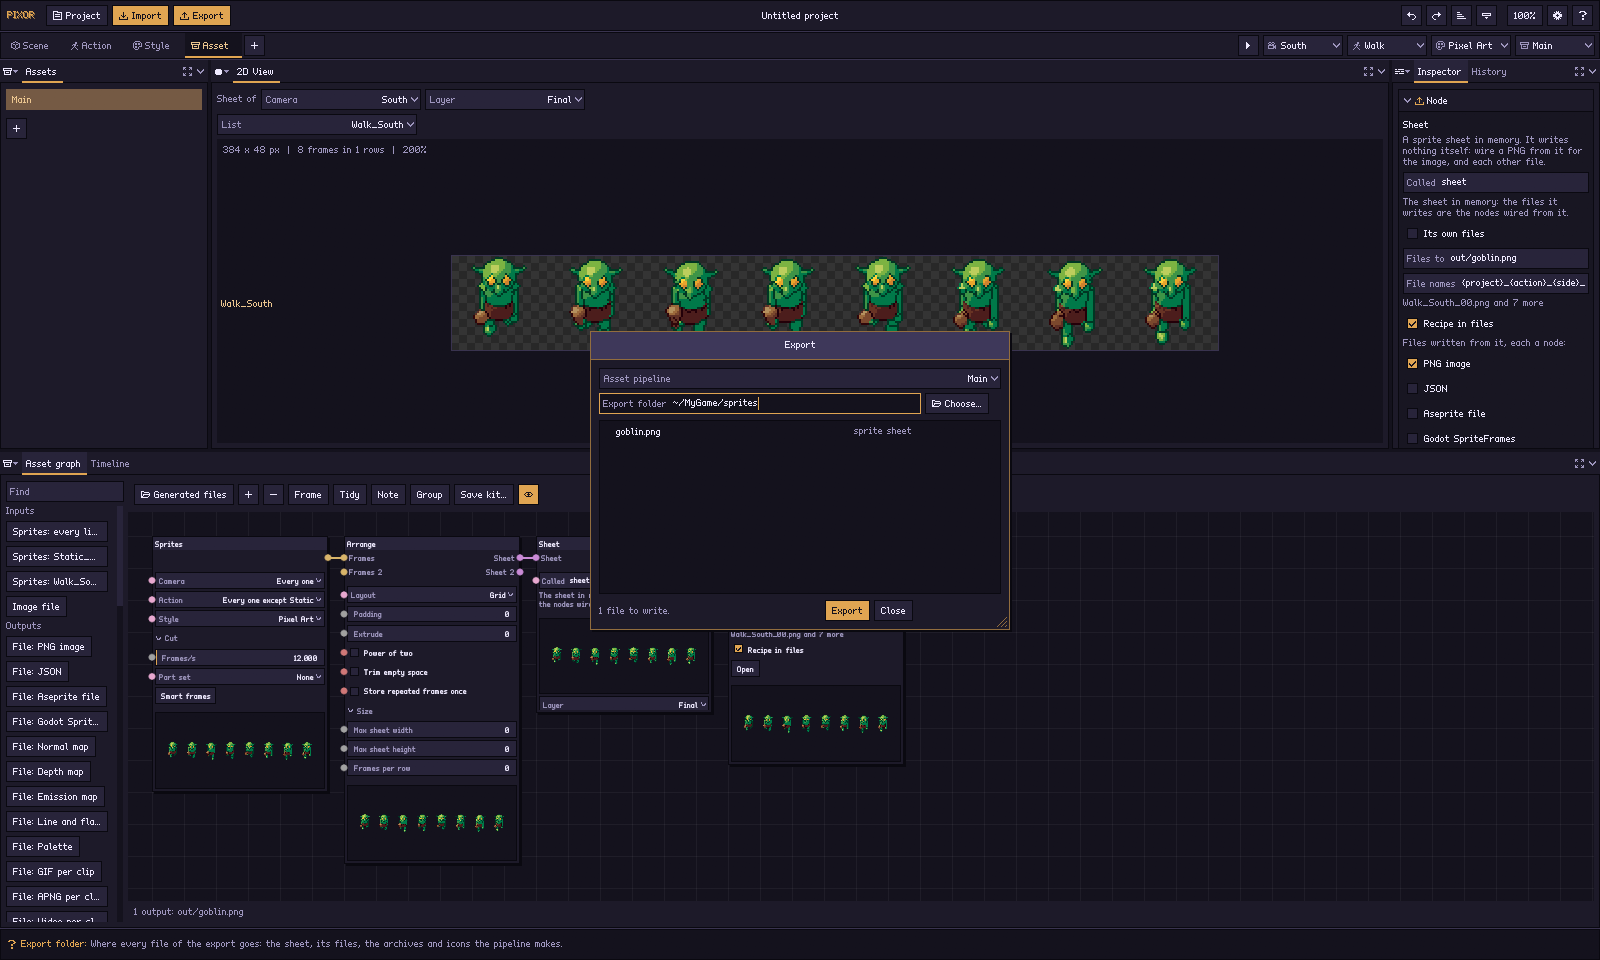
- Choose a pipeline and a folder, see the files before they are written
- pxr render does the same from a script, for a whole folder of models
What comes out
Animated pixel art, every frame from every side, with one pixel scale and one pivot. These came out of the steps above, from models in the free library.

One model, four looks


How each pixel is decided, stage by stage: how it works.
Try the same steps on your own model, free in your browser, or get the full version.
Try in browser Get Pixor